This is a follow-up article to my original Modding the Xbox in 10 Minutes. This guide will teach you how to install a larger hard-drive into your modded Xbox. A lot of people will ask for a legitimate reason for installing a hard-drive larger than the stock 8gb one. Here's a reason, games ripped to your Xbox load faster. Booting Halo 2 through the CD takes about twenty seconds to load; booting Halo 2 from the hard-drive takes about five seconds to load. There isn't this night and day difference in all games, but there are plenty of other legitimate uses to using a larger hard-drive in a modded Xbox.
Remember, it's only legal to rip games that you own to your hard-drive.
Before you begin, you're going to need the following:
- Torx 10 and 20 Screwdrivers (available at your local Sears)
- xboxhdm_v1.9.zip (available on Xbins in the directory: /XBOX/Operating Systems/linux/distributions/xboxhdm/)
- FTP Access to your Modded Xbox
- Blank Hard-Drive
- Blank CD-R/RW
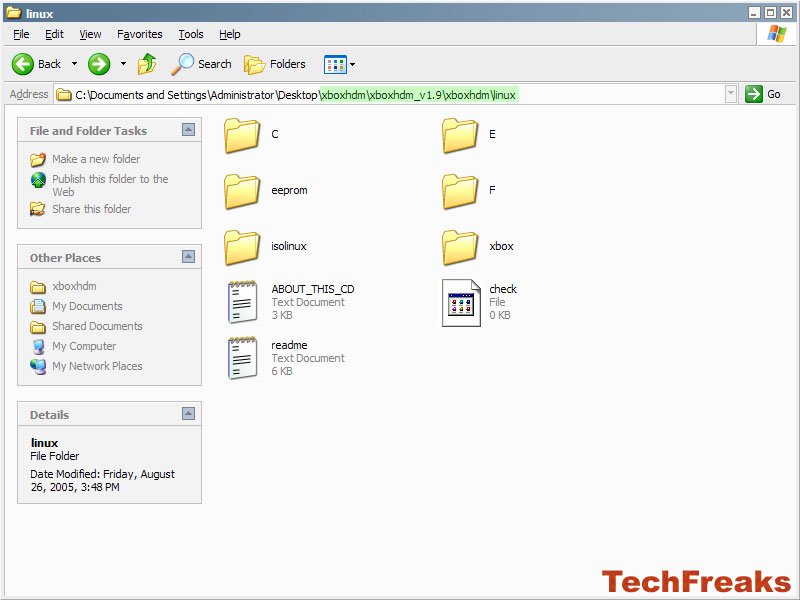
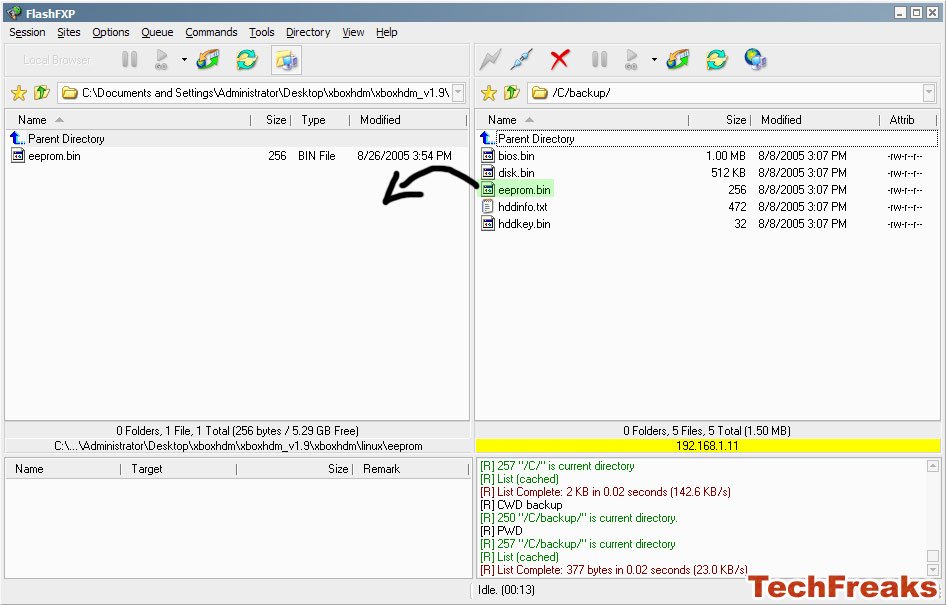
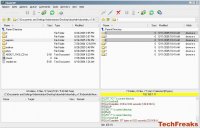
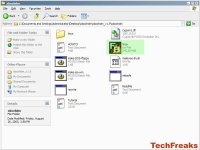
Once you have all of the above, extract the xboxhdm_v1.9.zip to its own directory. Connect to your Xbox via FTP and navigate to E:\backup\MS. If you used my first article, there should be a file called
eeprom.bin in there. Transfer that file to your local \xboxhdm\linux\eeprom folder. If you did not use my guide, you will first need to backup your EEProm through your dashboard.
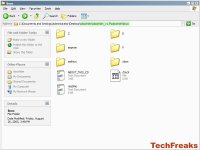

Navigate back to the root of your Xbox hard-drive and transfer the contents of your C:\ and E:\ folders from your Xbox to your local \xboxhdm\linux folder. The local folders should be empty prior to transfer.
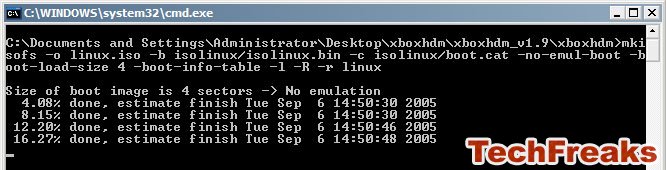
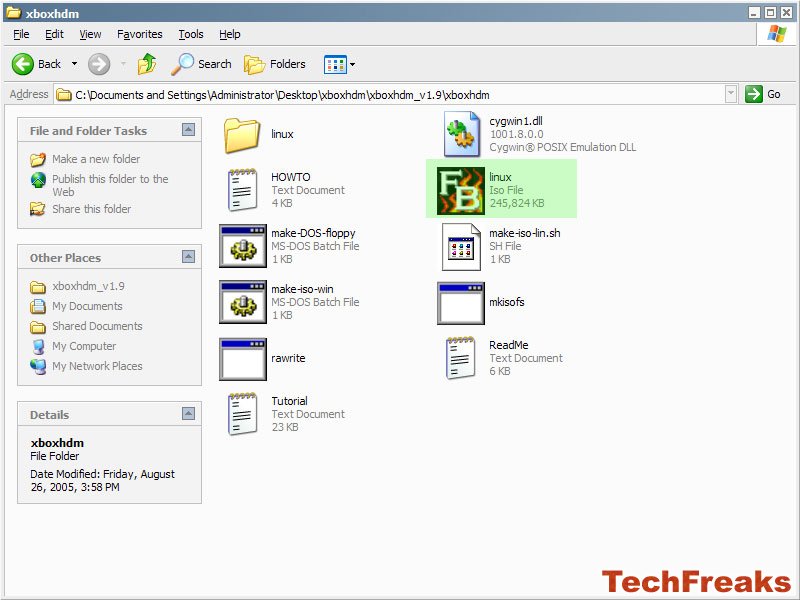
Depending how much stuff you have on your Xbox, this transfer might take a bit of time. Once you have transferred the eeprom.bin and c:\ and e:\ folders, navigate to your local \xboxhdm\ folder and double click the make-iso-win file. This will launch the command prompt and will make a
linux.iso file.
Use Nero, FireBurner, your burning application of choice to burn this .iso file to a blank CD-R.
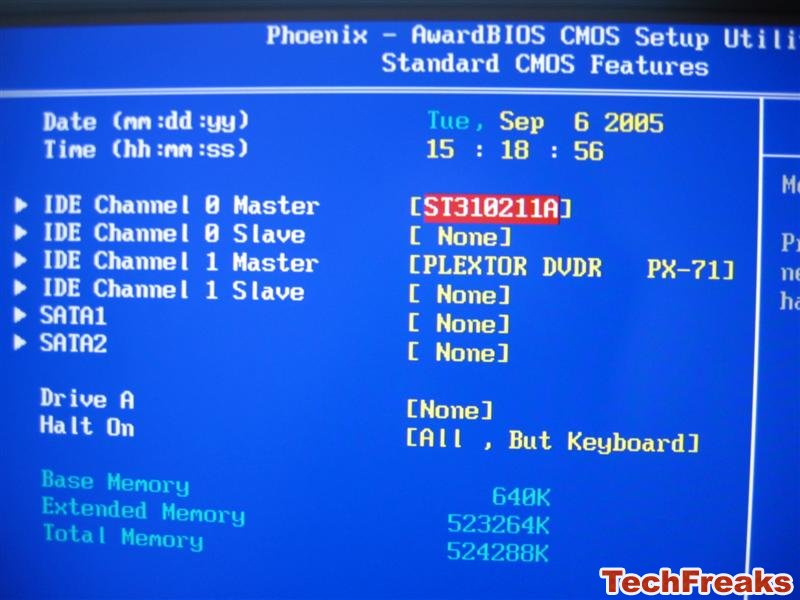
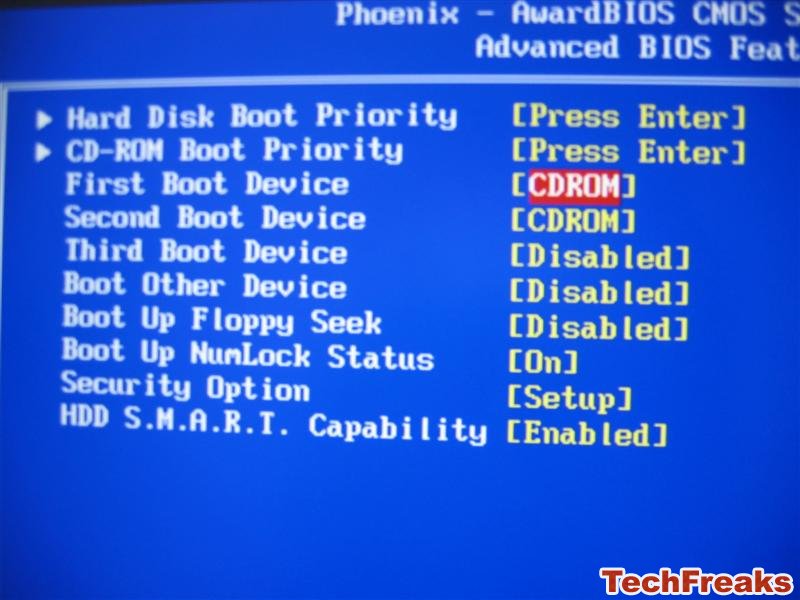
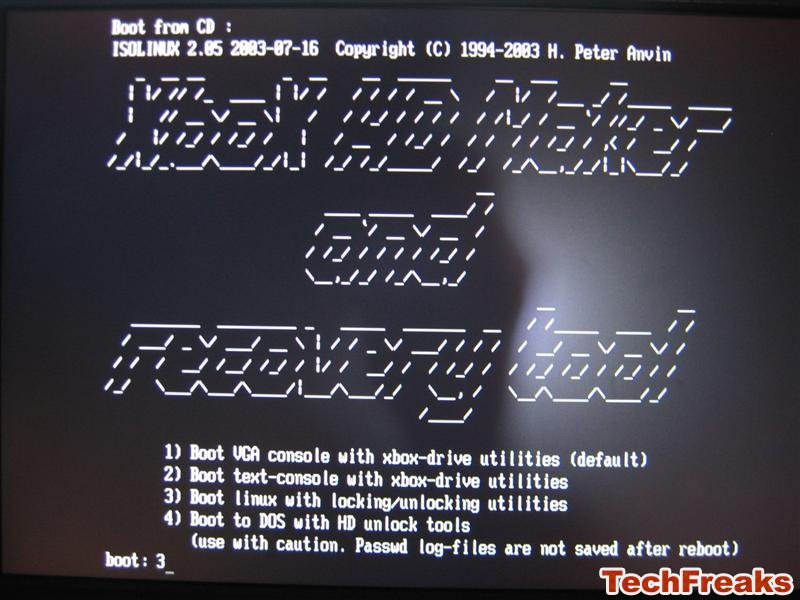
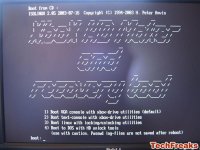
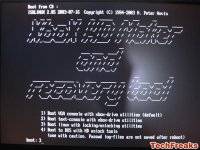
Once the CD has burned, turn off your system and disconnect your current hard-drives. Set the jumper on the hard-drive you intend to use in the Xbox to Single Master. Connect this hard-drive. Go into your BIOS and make sure the boot order sets to boot from the CD drive before the hard-drive. Reboot your computer (if necessary), insert the burned CD into your CD drive and it should boot into the Xbox Maker and Recovery Tool program.
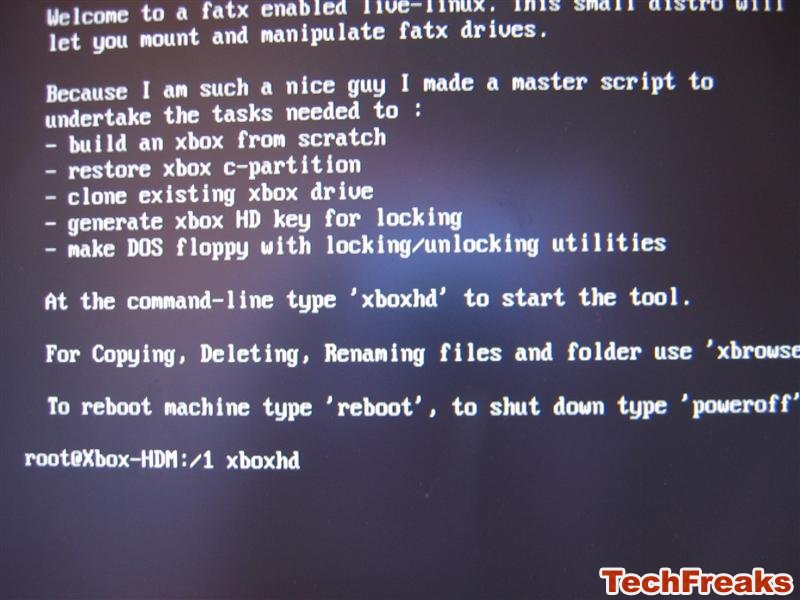
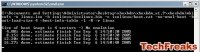
It makes no sense to write the following steps in a paragraph format because you just have to hit a number, type a word or answer yes/no. So here is how you navigate the program: (picture guide is located below)
- Press 1 (Boot VGA Console with Xbox-Drive Utilities (default)) and hit enter.
- Type xboxhd and hit enter
- Type yes (do not type y, you must spell out yes) and hit enter
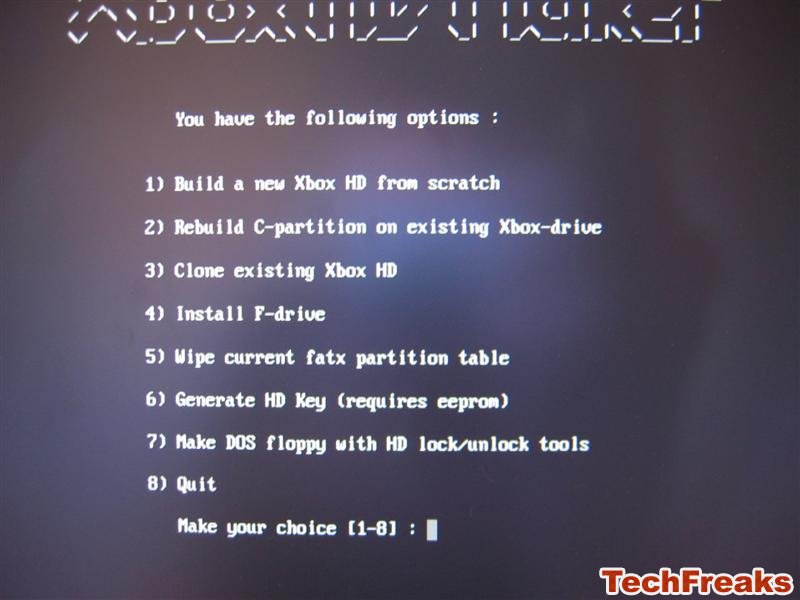
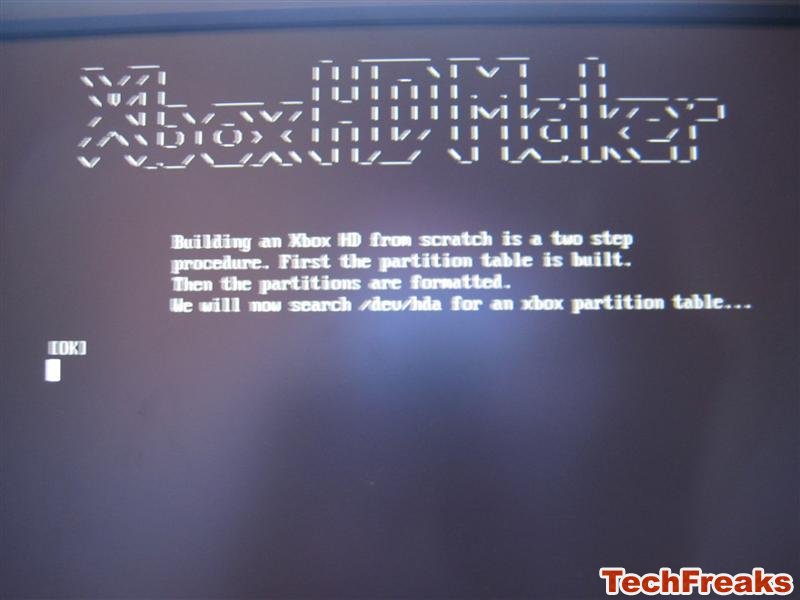
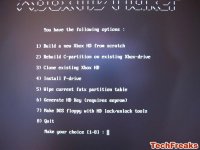
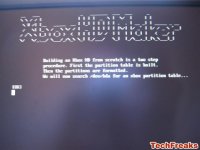
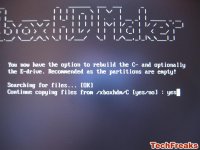
- Press 1 (Build a New Xbox HD from Scratch) and hit enter
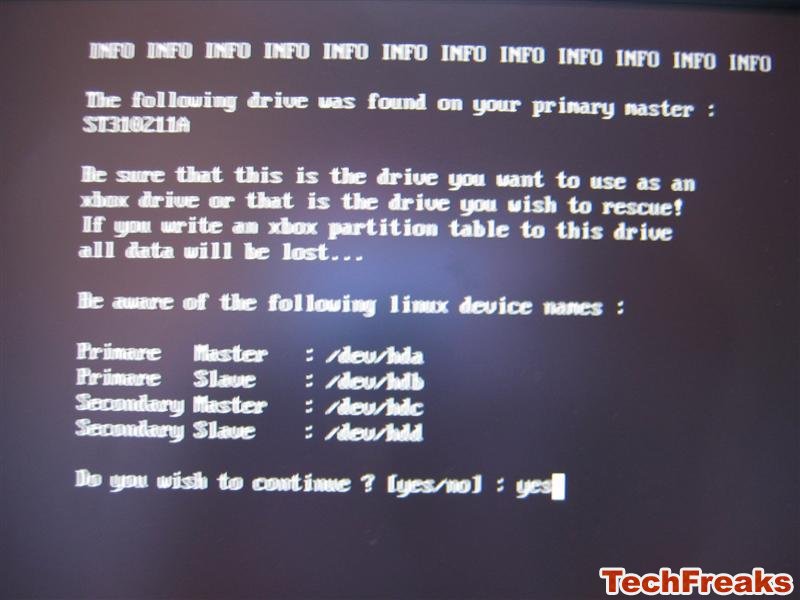
- Type yes and hit enter
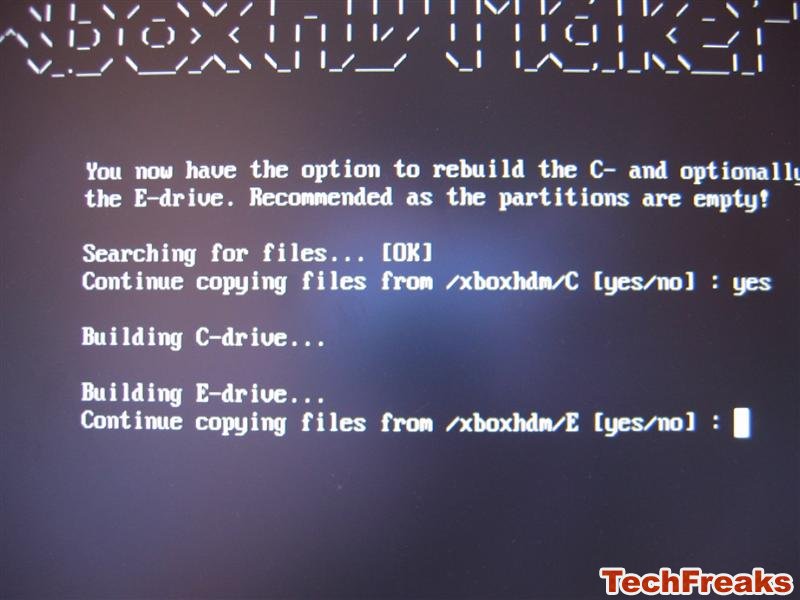
- Type yes and hit enter (Continue Copying Files from /xboxhdm/C)
- Type yes and hit enter (Continue Copying Files from /xboxhdm/E)
- Reboot once it has finished copying (this might take awhile)
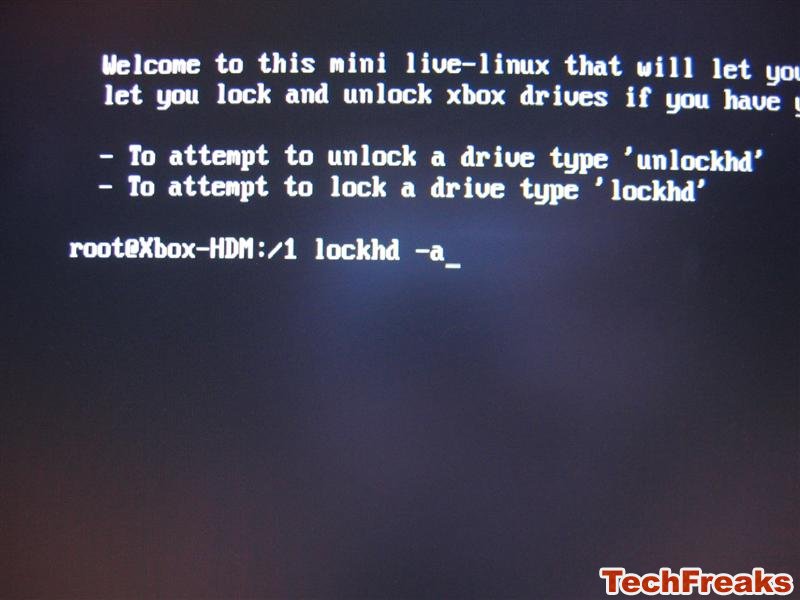
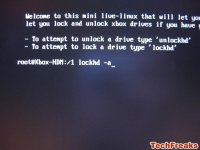
- Press 3 (Boot Linux with Locking/Unlocking Utilities)
- Type lockhd -a
- Turn off your computer


If you want to use your stock 8gb Xbox hard-drive in your PC, turn on your Xbox, if you installed Evolution X using my previous guide, go to System Configuration -> Unlock Harddisk. Turn off your Xbox.
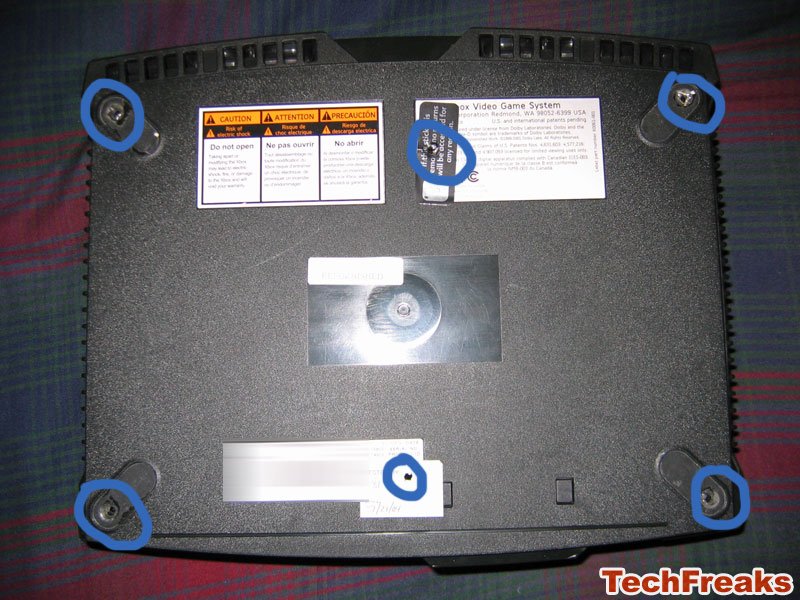
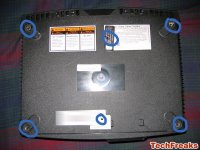
Disconnect the hard-drive from your computer and unscrew the Xbox's six torx screws. Unscrew the Xbox hard-drive's two torx screws; unplug its molex connector and IDE cable. Plug in your new Xbox hard-drive and turn it on. Congratulations on your new hard-drive.
If you have any questions, you should try the forums at
Xbox Scene.